dough
-
Brioche
BRIOCHE (ITALIANO) Breakfast is often described as the most important meal of the day, providing as it does sustenance and energy for whatever activities lay ahead. A soy cappuccino and some biscuits are all the food I can eat as soon as I wake up. In Italy I usually have cappuccino with a nice brioche.…
authentic recipes brioche bun bread, Bakery, bakery bread, breakfast, brioche, brioche authentic, brioche bread, brioche bun, brioches, brush, burro, caolzione italiana, chefs life, colazione, continental breakfast, custard, dough, fairna, food blogger, foodporn, french, homemade, icing sugar, impasto, leavening, lievitati, nutella, pane, pastry chef, recipes, ricette autentiche, sweet tentations, the foodie lovers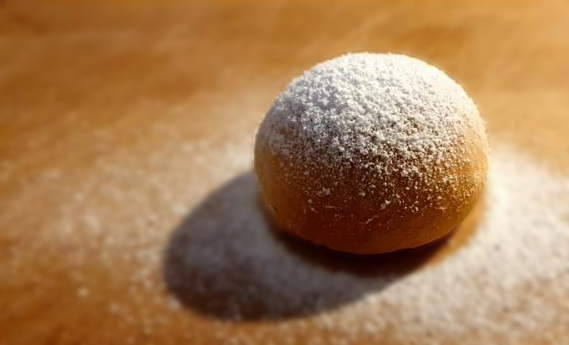
-
Homemade Bread
PANE FATTO IN CASA (ITALIANO) Its use as a basic food dates back to the Egyptians, but its production was improved by the Romans, the first people who realized the importance of having to wait long times to obtain the leavening. Their ingenious and rudimentary introduction made the dough more digestible, since the fermentation of…
beginner guide, Bread, ciabatta, classic bread, classic recipe, classic sourdough, dough, dry yeast, energy, fermentation, flour, focaccia, gluten, homemade bread, italia, italian bread, lievito di birra, lievito madre, mother yeast, overnight sourdough bread, pane, pane bianco, pane casareccio, pane fatto in casa, pane italiano, pvernight, quick bread, small bread, Sourdough, sourdough bread, water, white bread
