breakfast
-
Brioche
BRIOCHE (ITALIANO) Breakfast is often described as the most important meal of the day, providing as it does sustenance and energy for whatever activities lay ahead. A soy cappuccino and some biscuits are all the food I can eat as soon as I wake up. In Italy I usually have cappuccino with a nice brioche.…
authentic recipes brioche bun bread, Bakery, bakery bread, breakfast, brioche, brioche authentic, brioche bread, brioche bun, brioches, brush, burro, caolzione italiana, chefs life, colazione, continental breakfast, custard, dough, fairna, food blogger, foodporn, french, homemade, icing sugar, impasto, leavening, lievitati, nutella, pane, pastry chef, recipes, ricette autentiche, sweet tentations, the foodie lovers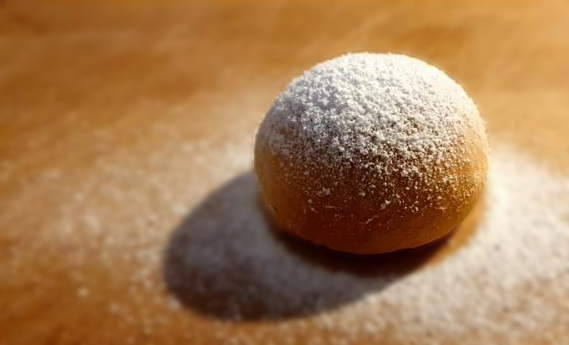
-
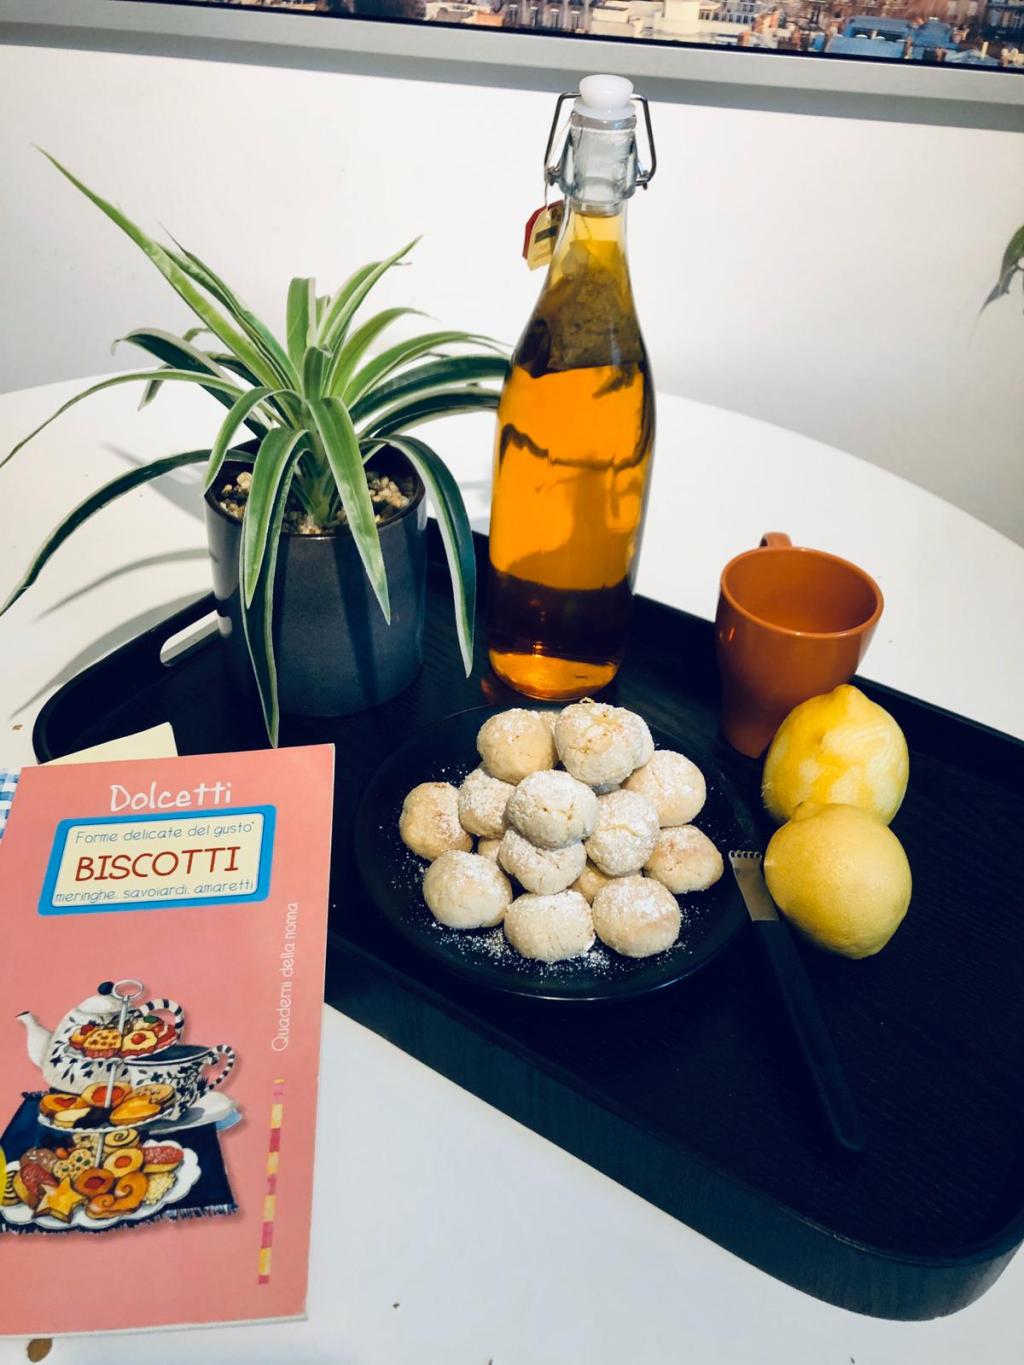
Lemon Tea Cookies
BISCOTTI AL LIMONE (ITALIANO) Shortbread, frolla, cookies, ladyfingers, grinders. The fresh smell of butter, the fragrance and the crunchiness under the teeth. The biscuits to be drenched in milk or to accompany an afternoon herbal tea are a pleasure. Making cookies is one of my favorite way to spend time. Soft and fluffy biscuits with…