homemade
-
Vegan and dairy free chocolate-pumpkin cake
TORTA VEGANA AL CIOCCOLATO E ZUCCA (ITALIANO) This extra moist chocolate, pumpkin cake, topped with chocolate ganache is a perfect fall treat. It´s so easy and quick to prepar. Chocolate and pumpkin seems like an odd combination, but trust me, it really works. The ultra rich chocolate cake melds so perfectly with the warming spices…
Australia, cake for halloween, dairy free, dessert, food porn, halloween cake, Halloween treats, homemade, homemade chocolate pumpkin cake, pasticceria italiana, pastry, pumpkin cake, pumpkin cake and chocolate, pumpkin chocolate cake, recipes, the foodie lovers, torta zucca e cioccolato vegana e dairy free, vegan and dairy free choco pumpkin cake, vegan and dairy free pumpkin chocolate cake, vegan cakes, vegan pumpkin cake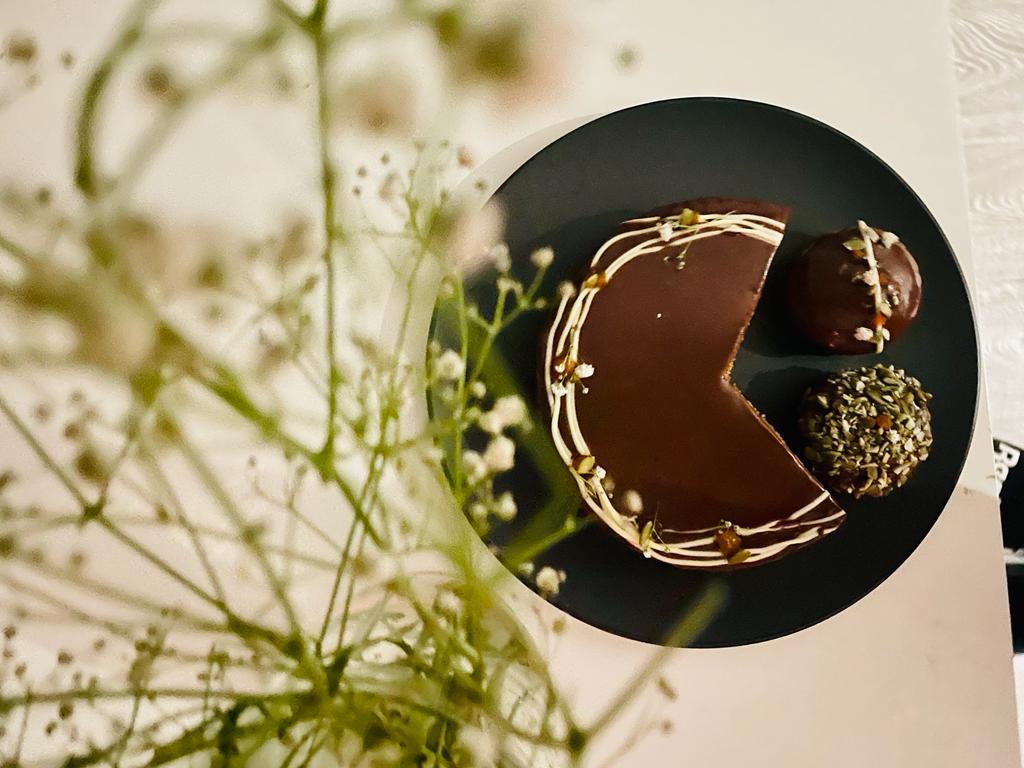
-
Classic Ragù Bolognese
RAGU’ BOLOGNESE (ITALIANO) This Classic Bolognese Sauce is made using all the authentic ingredients like beef, pork, tomato purée, then cooked low and slow for hours to develop a rich, hearty taste. I’ve already spoken about its history and the best tips for making it in this POST. The original recipe it’s been deposited to…
bologna, bolognese sauce, bovine diaphragm, Camera di Commercio di Bologna, cartella manzo bovino, classic bolognese sauce, come fare il Ragù bolognese, diaframma bovino, easy steps for Ragù bolognese, Fresh Pasta, fresh ragu, history of Ragù bolognese, homemade, homemade Bolognese sauce, homemade Ragù bolognese, homemade tagliatelle, how to make classic Ragù bolognese, Italian Ragù bolognese, original recipe classic Ragù bolognese sauce, pasta bolognese sauce, Ragù bolognese how to make it, Ragù bolognese recipe, Ragù bolognese ricetta originale, Ragù bolognese: storia, ragout, ragu, ragu alla bolognese, ragu bolognese, secrets for Ragù bolognese, spaghett bolognese recipe, storia del Ragù bolognese, tagliatelle bolognese, tagliatelle bolognese sauce, the foodie lovers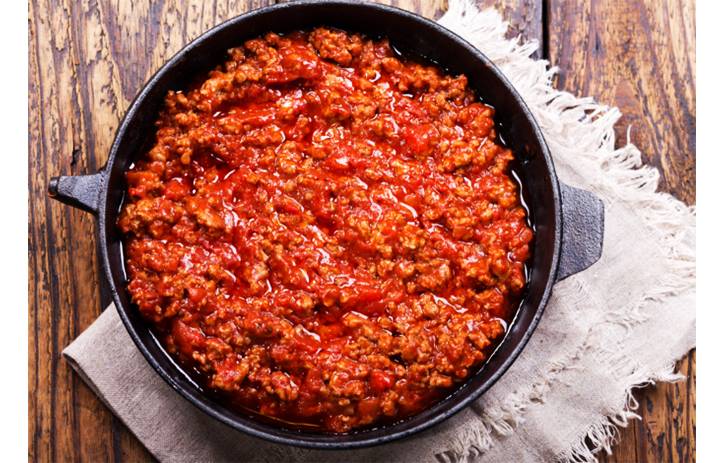
-
Brioche
BRIOCHE (ITALIANO) Breakfast is often described as the most important meal of the day, providing as it does sustenance and energy for whatever activities lay ahead. A soy cappuccino and some biscuits are all the food I can eat as soon as I wake up. In Italy I usually have cappuccino with a nice brioche.…
authentic recipes brioche bun bread, Bakery, bakery bread, breakfast, brioche, brioche authentic, brioche bread, brioche bun, brioches, brush, burro, caolzione italiana, chefs life, colazione, continental breakfast, custard, dough, fairna, food blogger, foodporn, french, homemade, icing sugar, impasto, leavening, lievitati, nutella, pane, pastry chef, recipes, ricette autentiche, sweet tentations, the foodie lovers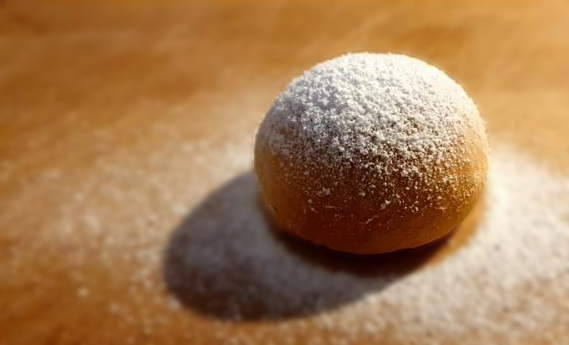
-
Homemade Tagliatelle
TAGLIATELLE FATTE IN CASA (ITALIANO) There is nothing better than homemade pasta and making a perfect fresh pasta dough is quite simple: just flour, eggs, a little bit of patience, and a good rolling pin. When making homemade pasta, you start with one recipe and you can make any shape pasta you choose, from this…
al dente pasta, blogonese, bologna, chefslife, cooking time, egg pasta, farina, fettuccine, foodporn, fresh eggs, Fresh Pasta, gluten, glutine, homemade, impasto, italian food, italian pasta, macchian per la pasta, mix, nonna papera, olio di oliva, olive oil, organic eggs, panetto, pasta dough, pasta fresca, pasta machine, pasta skills, ragu, ragu bolognese, roma, romagna, sud Italia, tagliatelle
-
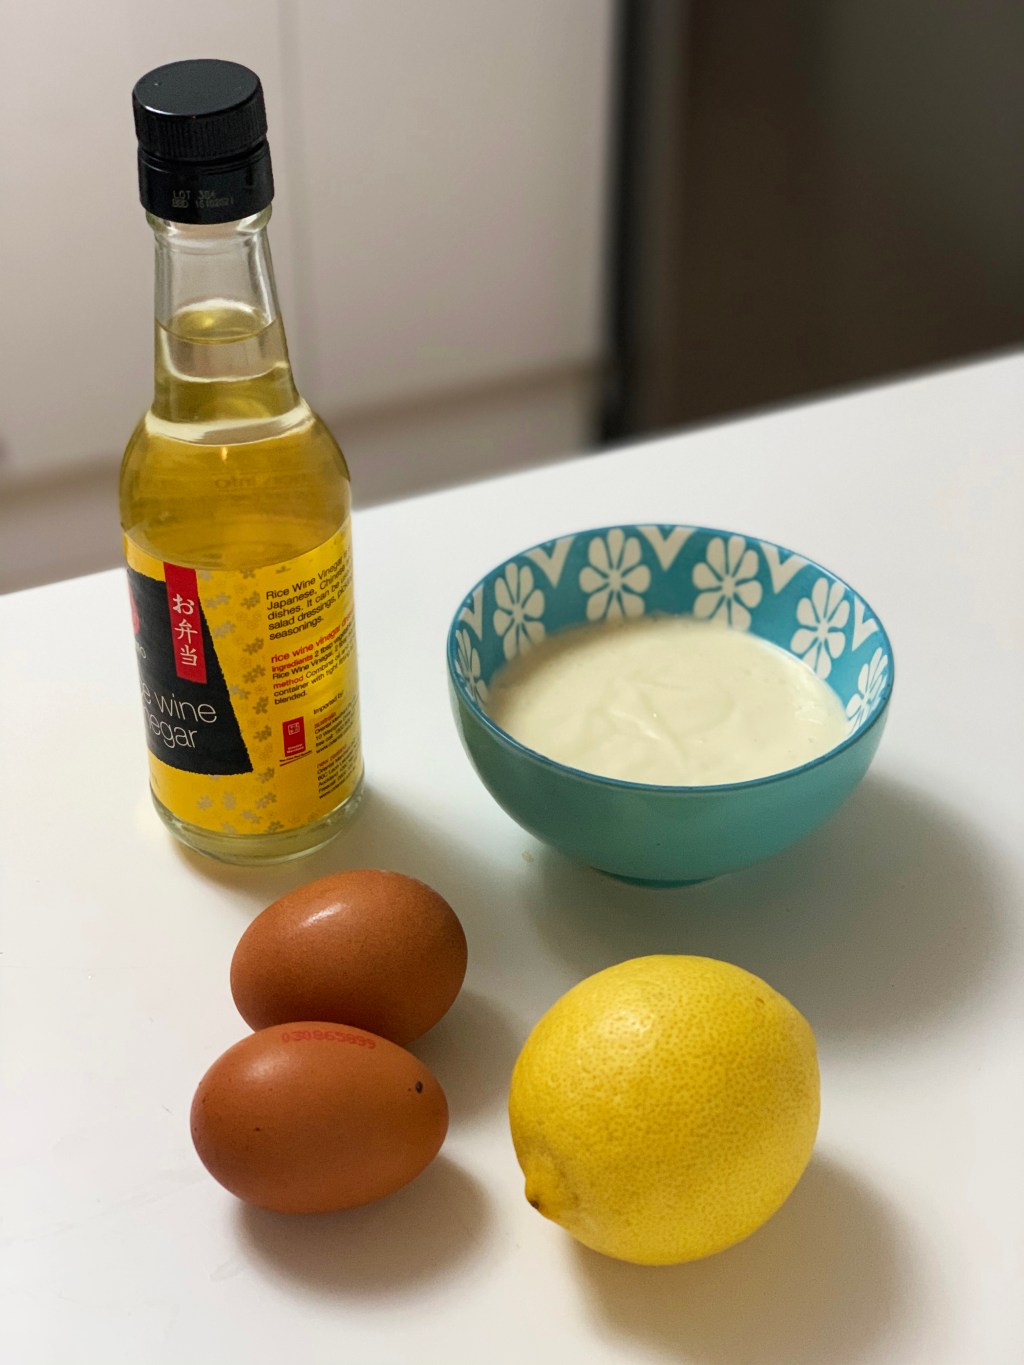
Homemade Mayonnaise
HOMEMADE MAIONESE (ITALIANO) Hello guys, as you all know, we are chefs and because of this we try to make everything we can think about it at home. In this post I want to talk about the homemade mayonnaise. The homemade mayo is quick and easy to prepare and tastes fantastic served with many dishes:…
-
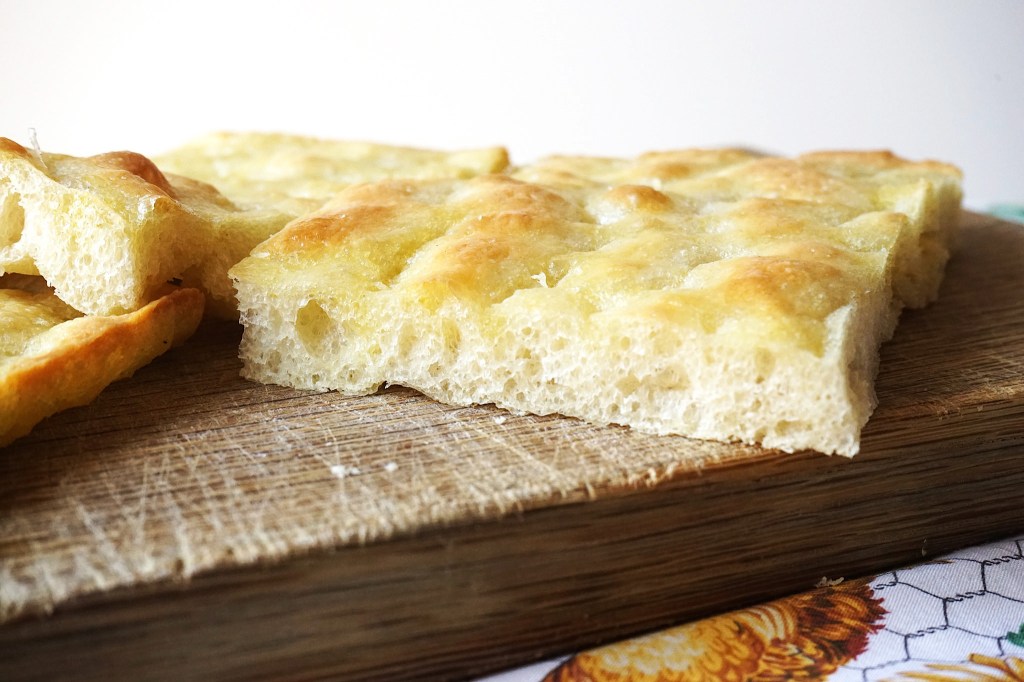
Italian Focaccia
LA FOCACCIA (ITALIANO) ‘What’ll we talk about?’ Well, food in the first place. But also sensations and memories, emotions. We all have memories related to what we eat daily: our mother who prepares our birthday cake, the first time we prepared the cookies; or when we went to live alone and we found out that…