recipes
-
Vegan and dairy free chocolate-pumpkin cake
TORTA VEGANA AL CIOCCOLATO E ZUCCA (ITALIANO) This extra moist chocolate, pumpkin cake, topped with chocolate ganache is a perfect fall treat. It´s so easy and quick to prepar. Chocolate and pumpkin seems like an odd combination, but trust me, it really works. The ultra rich chocolate cake melds so perfectly with the warming spices…
Australia, cake for halloween, dairy free, dessert, food porn, halloween cake, Halloween treats, homemade, homemade chocolate pumpkin cake, pasticceria italiana, pastry, pumpkin cake, pumpkin cake and chocolate, pumpkin chocolate cake, recipes, the foodie lovers, torta zucca e cioccolato vegana e dairy free, vegan and dairy free choco pumpkin cake, vegan and dairy free pumpkin chocolate cake, vegan cakes, vegan pumpkin cake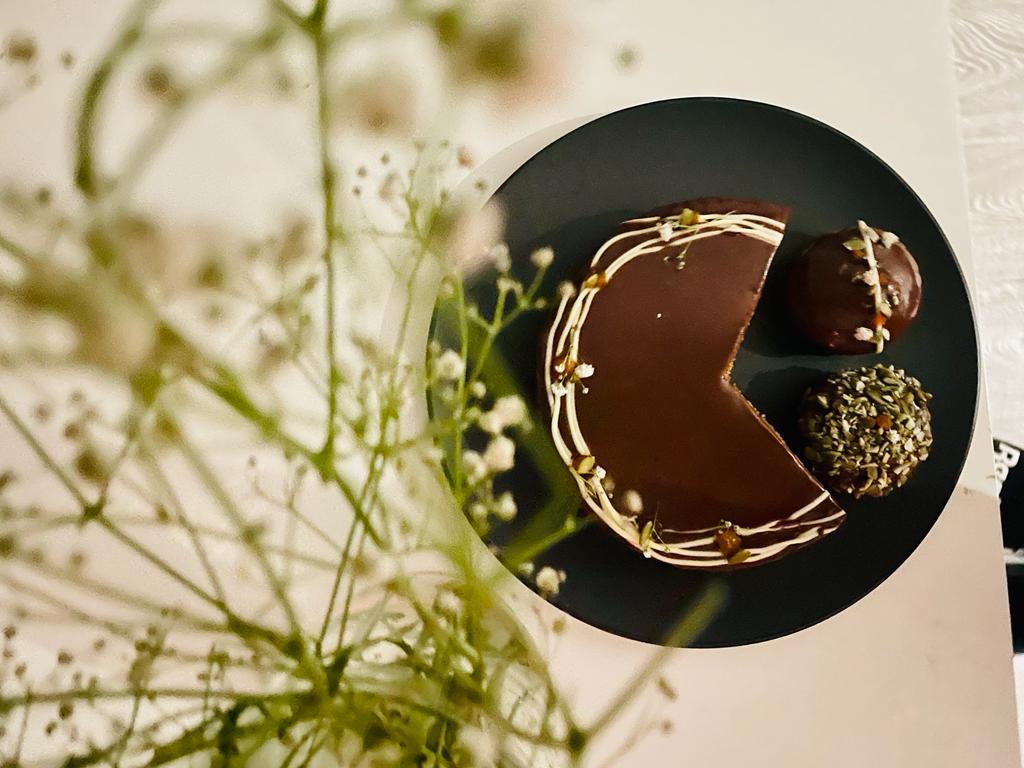
-
Green Tea Biscotti
BISCOTTI DA TE’ (ITALIANO) Who doesn’t love tea and crunchy bikkies? In several posts I spoke about vary kind of pastry and their different structures based on use. When I want sweet and mouth-watering pastries, I choose the FROLLA MONTATA. It si so crunchy because of the high percentage of butter contained and it is…
afternoon, afternoon tea, Australia, bikkies, biscotti, biscotti and teas, biscottini, biscuit and chocolate, biscuits, biscuits recipes, chocolate drizzle, cookies, Desserts, food porn, green tea biscotti, italy, pasticcini, pastry chef, patisserie, recipes, snack, sweets, tea, tea biscuit, tea time, Tea-Scented Breakfast Biscotti, tentazioni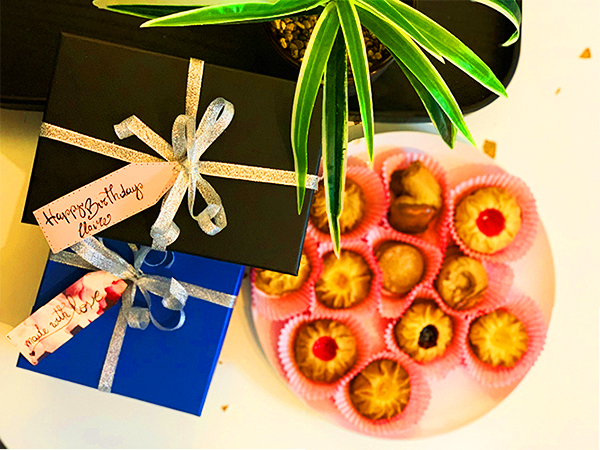
-
Tiramisu’
TIRAMISU (ITALIANO) Oh yeah! We decided to make our great timeless classic: Tiramisu’, the most famous Italian dessert in the world. Of course, as with any iconic dessert, there are a number of variations of the classic recipe. Some people like to sprinkle biscotti (biscuits) throughout the layers to add a bit of crunch; others…
Australia, Best Tiramisu, cacao, Classic tiramisu, cocoa, coffee, cream, crema pasticciera, custard, dessert, Desserts, dolci che passione, easy step for tiramisu, easy tiramisu, famous tiramisu, food porn, homemade tiramisu, how to make mascarpone, how to make tiramisu, Irresistible Tiramisu with Lots of Tips, italian dessert, italian tiramisu, italy, Kahlúa, Lady FInger, Marsala, mascarpone, meringa italiana, pastry chef, pate a bombe, recipes, Savoiardi, Savoiardi Biscuits, sponge cake tiramisu, sponge fingers, step by step tiramisu, sweet moments, the foodie lovers, Tiramisu, Tiramisu al bicchiere, Tiramisu Authentic Italian Recipe, Tiramisu da fare a casa, Treviso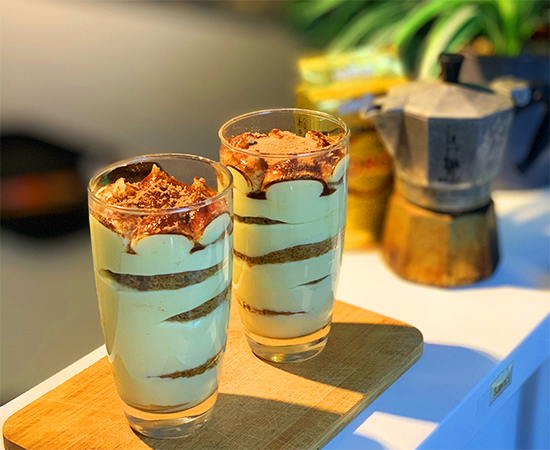
-
Brioche
BRIOCHE (ITALIANO) Breakfast is often described as the most important meal of the day, providing as it does sustenance and energy for whatever activities lay ahead. A soy cappuccino and some biscuits are all the food I can eat as soon as I wake up. In Italy I usually have cappuccino with a nice brioche.…
authentic recipes brioche bun bread, Bakery, bakery bread, breakfast, brioche, brioche authentic, brioche bread, brioche bun, brioches, brush, burro, caolzione italiana, chefs life, colazione, continental breakfast, custard, dough, fairna, food blogger, foodporn, french, homemade, icing sugar, impasto, leavening, lievitati, nutella, pane, pastry chef, recipes, ricette autentiche, sweet tentations, the foodie lovers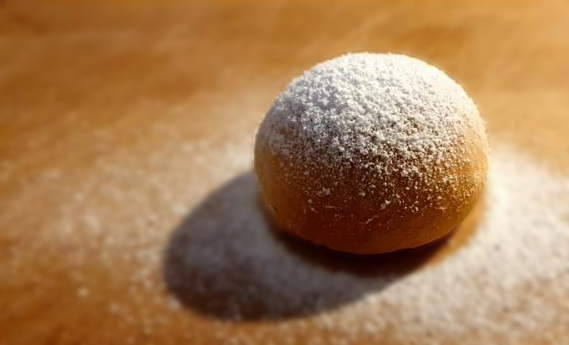
-
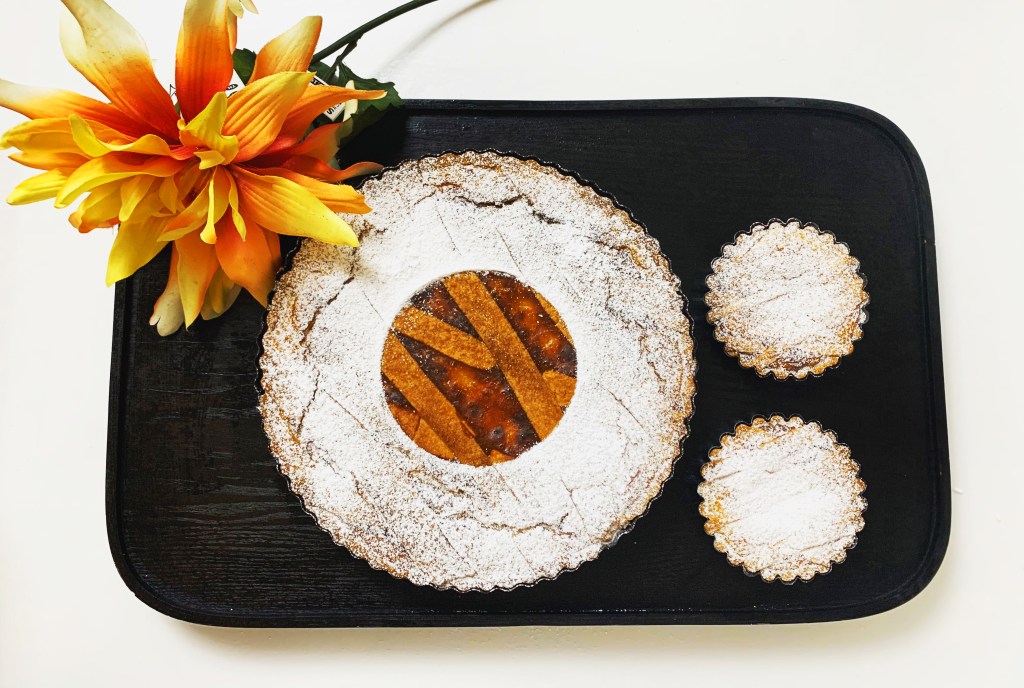
Pastiera Napoletana
LA PASTIERA NAPOLETANA (ITALIANO) I must recognize that the start of 2020 is a clear continuation of the negativity of 2019 but is going fast. We are already at Easter… This unusual Easter which has deprived us of love and people. Let me say that Pasquale and I are not Catholics but we like to…
ancient naples, ancient recipes, Australia, cannella, center of Naples, centro storico di Napoli, chefslife, chefstalk, citrus, crema pasticcera, crema pasticciera, custard, decumani, dessert, dolce pasquale, easter, eggs, food blogger, food porn, grano cotto, happy easter, italian, Italian tradition, lard, legend, lemon, manicaretto, naples, Napoli, neapolis, neapolitan, neapolitan pastiera, orange blossom, oranges, Partenope, partenope siren, Pasqua, pasta frolla, pastiera, pastiera napoletana, pastry, patisserie, patissier, quadrati, quartiere italiano, recipes, ricotta di pecora, San Gregorio Armeno, seven strips, siren, strisce, strutto, sydney, the foodie, thefoodieblog, thefoodielovers, tradizioni, tradizioni italiane, wheat