sweets
-
Green Tea Biscotti
BISCOTTI DA TE’ (ITALIANO) Who doesn’t love tea and crunchy bikkies? In several posts I spoke about vary kind of pastry and their different structures based on use. When I want sweet and mouth-watering pastries, I choose the FROLLA MONTATA. It si so crunchy because of the high percentage of butter contained and it is…
afternoon, afternoon tea, Australia, bikkies, biscotti, biscotti and teas, biscottini, biscuit and chocolate, biscuits, biscuits recipes, chocolate drizzle, cookies, Desserts, food porn, green tea biscotti, italy, pasticcini, pastry chef, patisserie, recipes, snack, sweets, tea, tea biscuit, tea time, Tea-Scented Breakfast Biscotti, tentazioni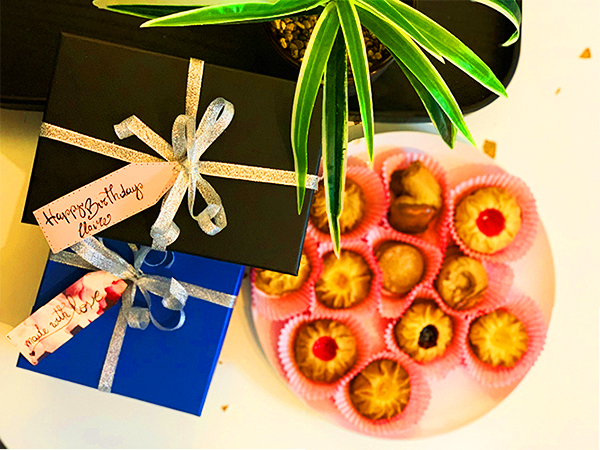
-
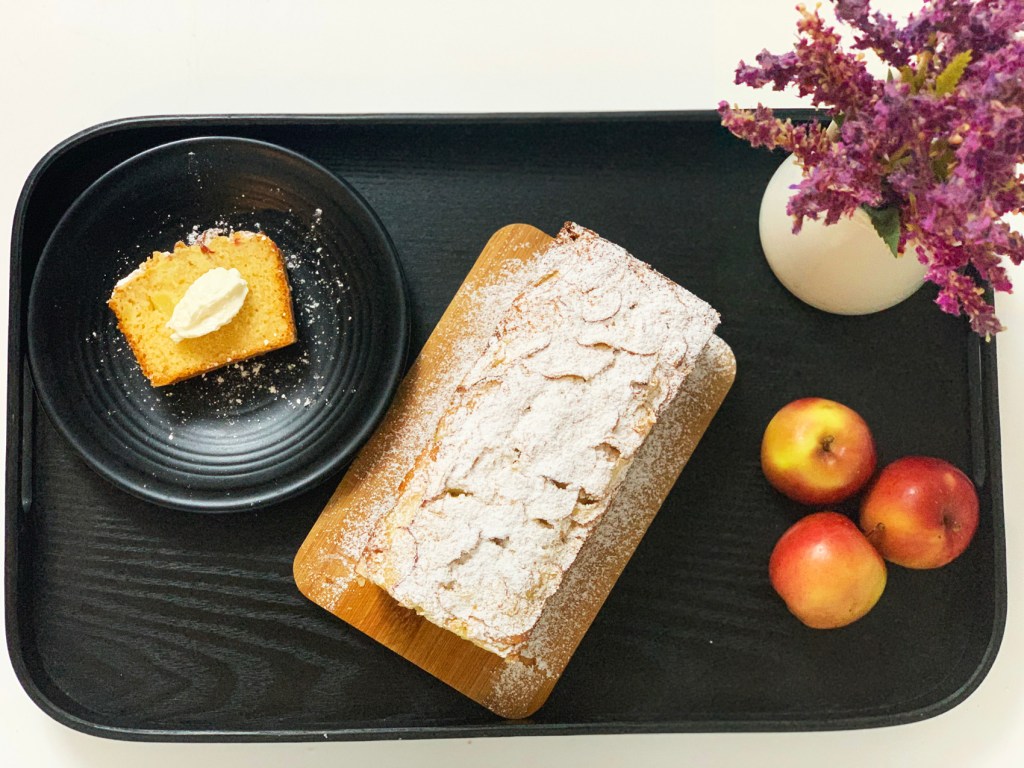
Fuji Apple Cake
TORTA DI MELE FUJI (ITALIANO) If I had to think of a dessert that reminds my childhood, I would choose the apple cake without thinking twice. A classic one that is by no means trivial, which makes its simplicity a ‘weapon’ that conquers both young and old people. I think of my mother while she…
apple cake original recipe, apple cake recipe, applecake, best apple cake ever, cake, cannella, Desserts, easy step for apple cake, fuji, fuji apple cake recipe, how to make apple cake, mela, pastry, ricetta originale torta di mele della nonna, ricetta torta di mele, sweets, torta, torta di mele fuji, tortadimele