Bakery
-
Pizza di scarole (escarole pie)
PIZZA DI SCAROLE (ITALIANO) It is well known in the world that Italians love food and when there is a holiday to celebrate this love grows beyond measure! One of the things that I love that my mom and my grandmother always use to prepare for lunch on 24th of December, so on Christmas’s eve,…
Australia, baked escarole pie, endive pie, escarole pie, escarole stuffed pizza, haberfield sydney, how to make escarole pie, how to make italian pie, how to make pizza, how to make pizza di scarole, how to use escarole, how to use scarole, italian pizza, italian vegetarian pizza, la scarola e la pizza, Neapolitan Classics: Pizza di Scarola, pizza con la scarola, pizza di scarola ricetta originale, pizza di scarola ricetta originale napoletana, pizza di scarole napoletana, ricetta facile per pizza di scarola, ricetta facile pizza scarola, ricetta facile scarola liscia, ricetta pizza scarola napoletana, rustic escarole pie italian recipe, rustic pie recipe, scarola liscia, scarola riccia, shortcrust pie escarole, tricks for scarole, vegetarian escarole pie, vegetarian pizza
-
Graffe Napoletane (Neapolitan Doughnuts)
GRAFFE NAPOLETANE (ITALIANO) Naples is in my opinion one of the most beautiful cities in the world: culture, entertainment, history and of course food. The summer nights, walking through the streets in Naples, at Mergellina seafront and the inevitable GRAFFA NAPOLETANAor ZEPPOLA FRITTA. Soft, fragrant and melting in the mouth, our graffe are a sin…
ciambella fritta, come fare le zeppole fritte, easy step donuts recipe, graffa fritta, graffe napoletane, Graffe Napoletane (Italian donuts), graffe napoletane con patate, how to make donuts, Italian Pizza Fritta Fried Dough, neapolitan doughnuts, neapolitan dounuts, neapolitan dughnuts, original recipe neapolitan doughnuts, original recipe zeppole fritte, ricetta graffa fritta, ricetta originale delle graffe napoletane, ricetta zeppola fritta napoletana, zeppola napoletana fritta ricetta, zeppole fritte, zeppole fritte con patate, zeppole fritte ricetta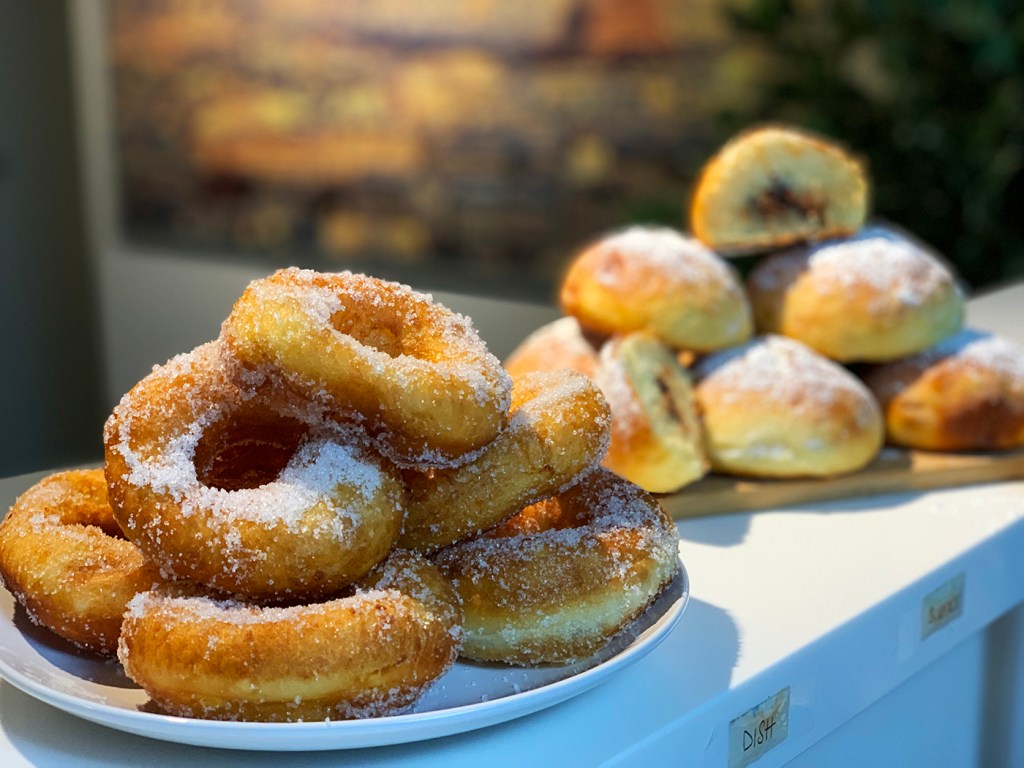
-
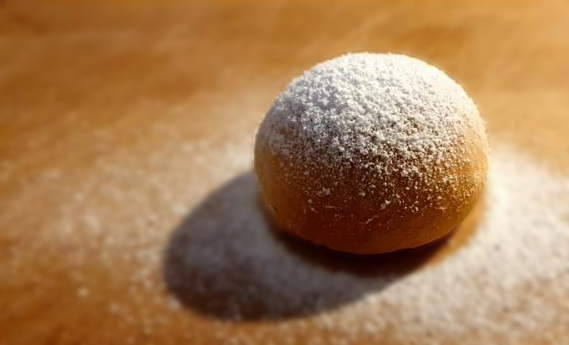
Brioche
BRIOCHE (ITALIANO) Breakfast is often described as the most important meal of the day, providing as it does sustenance and energy for whatever activities lay ahead. A soy cappuccino and some biscuits are all the food I can eat as soon as I wake up. In Italy I usually have cappuccino with a nice brioche.…
authentic recipes brioche bun bread, Bakery, bakery bread, breakfast, brioche, brioche authentic, brioche bread, brioche bun, brioches, brush, burro, caolzione italiana, chefs life, colazione, continental breakfast, custard, dough, fairna, food blogger, foodporn, french, homemade, icing sugar, impasto, leavening, lievitati, nutella, pane, pastry chef, recipes, ricette autentiche, sweet tentations, the foodie lovers